
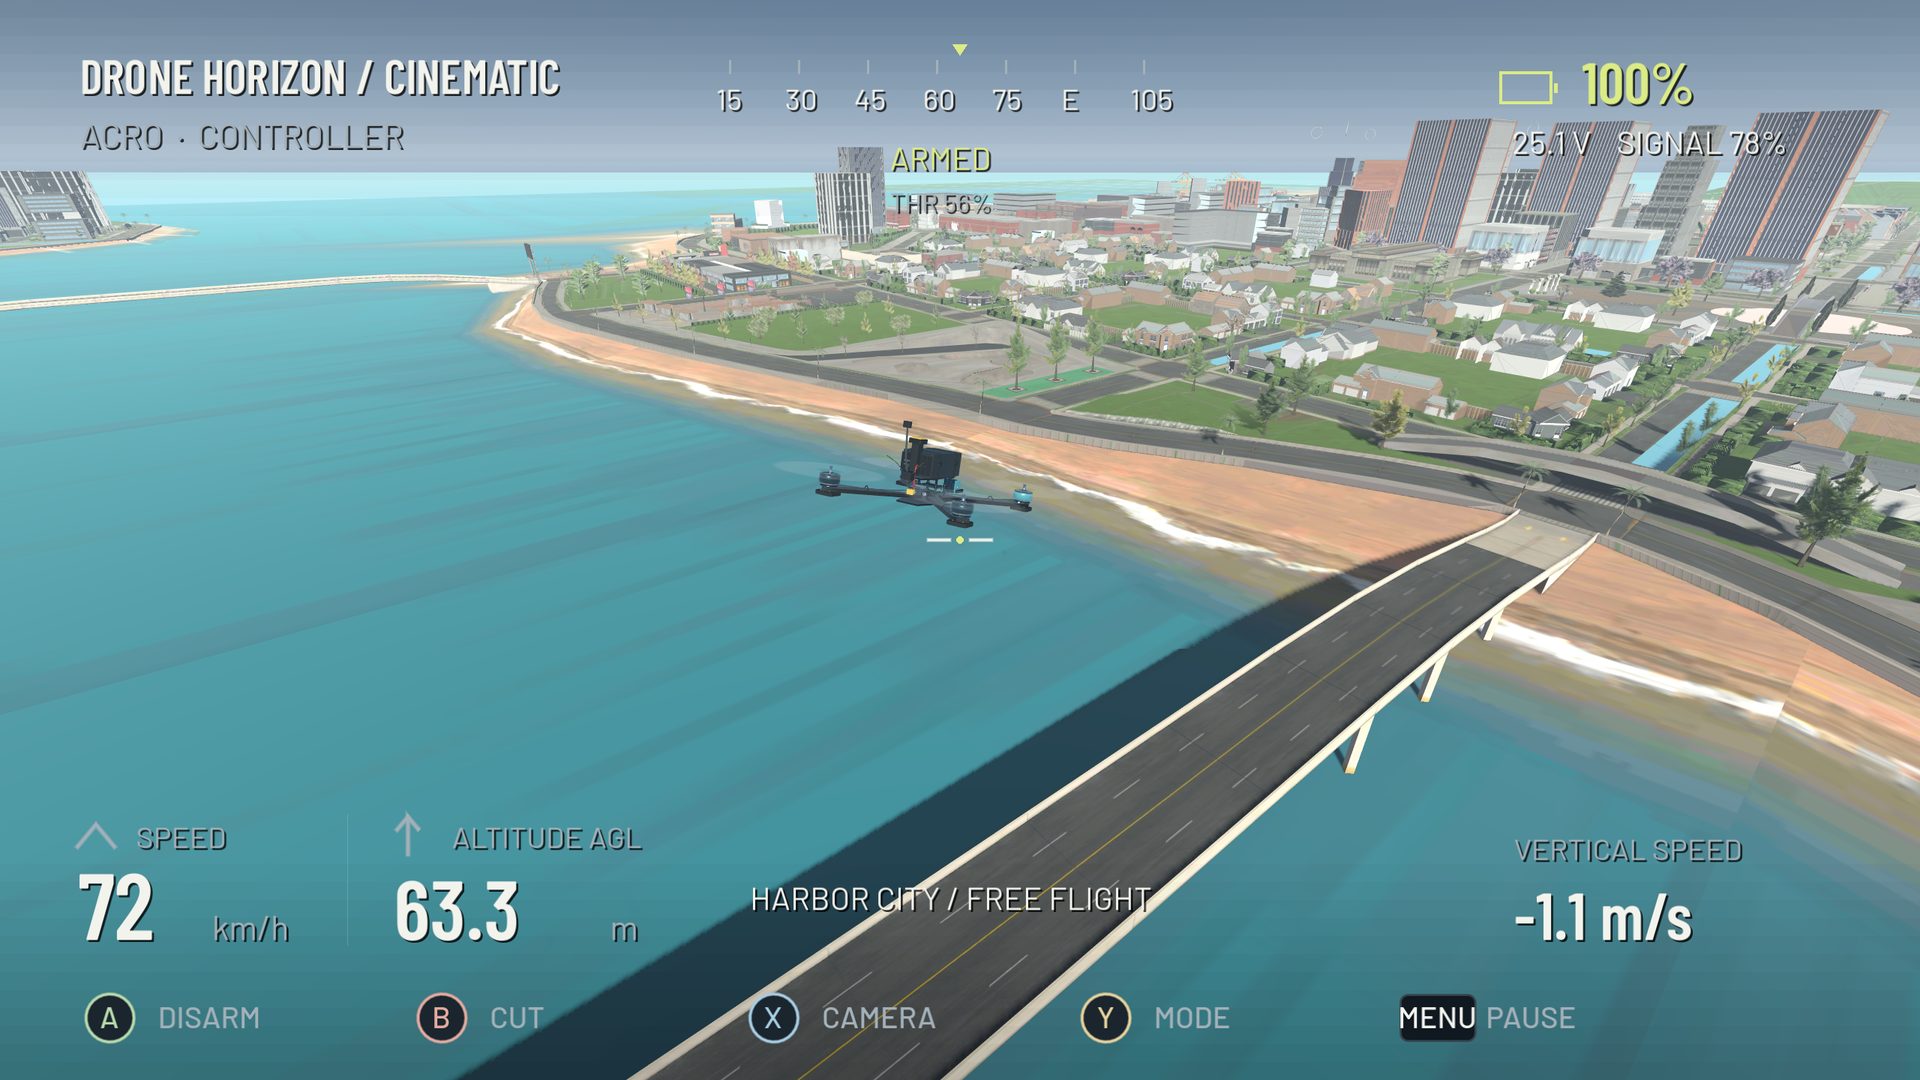
An orbit is a flight path around a subject while maintaining useful framing. It combines lateral movement, heading control and height management. Yawing on the spot is a pan; pointing the nose at a subject while drifting unpredictably is not yet a controlled orbit.
Choose an isolated virtual landmark with clear surrounding space. Begin well away from it, at a height where a missed correction does not immediately become a collision. These are simulator practice conditions, not real-world operating distances.
Start with a circle, then add framing
Fly a broad circle around the landmark without demanding perfect subject placement. Keep the radius and height reasonably consistent. This establishes the path first, so you do not spend the whole exercise chasing the subject across the screen.
Next orient the camera toward the landmark and repeat. You will need yaw to maintain heading relative to the subject and pitch/roll to sustain the route. The required balance depends on attitude and camera tilt; there is no universal stick ratio.
Watch radius as well as framing
A subject can remain centered while the aircraft spirals inward or outward. Use the apparent size of the subject and surrounding ground references to notice changes in distance. If it grows steadily larger, the orbit is tightening even if the framing looks composed.
Reduce speed and repeat with a wider radius if corrections become continuous. A calm large orbit teaches more than a tight sequence held together by near misses.
| Observation | Likely adjustment |
|---|---|
| Subject remains centered but grows | Re-establish the path radius |
| Subject drifts sideways at constant distance | Refine heading/yaw timing |
| Height falls during the bank | Coordinate collective with bank |
| Orbit becomes a stop-start pan | Preserve translational movement |
| Direction reversal is abrupt | Practice separate orbits before linking them |
Practice both directions
Fly several clockwise arcs, then return to a known starting position and try counterclockwise. It is common to find one direction easier because of grip or unintended axis coupling. Use that observation to isolate a drill rather than hiding the weaker direction in every route.
Once each direction is controlled, connect them with a broad transition or figure eight. Do not reverse bank and heading suddenly beside the subject. The transition should have its own planned path and recovery space.
Compare FPV and stabilized views
A rigid FPV camera follows aircraft attitude, so banking changes the image. Drone Horizon's separate stabilized camera-drone family can keep a different relationship between camera and body. A smooth-looking stabilized shot does not prove that manual FPV inputs were equally smooth.
Choose the system that matches your lesson. For manual coordination, keep the rigid view. For camera-drone framing, study gimbal pitch and motion together using the stabilized flight guide.
A useful practice result
Aim to complete a broad orbit with similar height and subject size, then exit along a chosen line without a sudden turn. Count successful arcs yourself if the selected simulator mode has no orbit score; this is a suggested exercise, not an advertised built-in challenge.
Progress to cinematic flying when framing is the main interest, or figure eights when you want a more demanding bank transition.