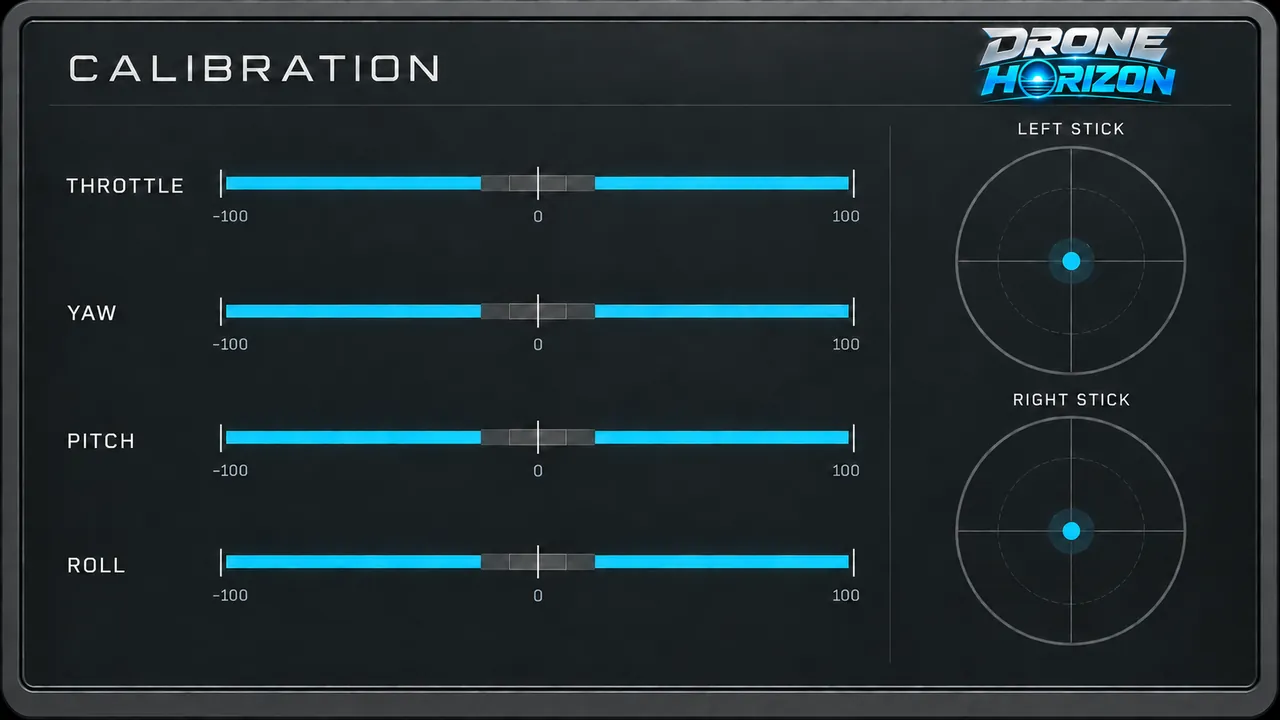
A deliberate setup makes a familiar controller feel right in a new simulator.
Calibration concept illustration. In-game menus may differ by build.
Linux
Check joystick visibility and input-device access. Test the chosen USB or Bluetooth route in the native build. Device enumeration and full-range input are separate checks.
Windows
Use Windows “Set up USB game controllers” to inspect axes first. Then verify the same controls inside Drone Horizon. Desktop mappings may differ from Linux.
Android
Use a supported USB host / OTG adapter or Bluetooth pairing. Grant a USB permission only to the connected device you intend to use. Inspect the native input route and reconnect after resuming the app.
Apple devices
MFi and other controllers depend on the device, OS and app build. Native Apple hardware acceptance is pending. A successful browser demo does not validate the native simulator.
DJI validation: actual input required
For DJI FPV Remote Controller 2, connect the powered controller to a PC with a USB-C data cable. Record OS version, device name, USB identifiers, gamepad GUID, raw axes and buttons. Test full stick travel, calibration, flight actions, disconnect and profile persistence inside Drone Horizon.
The current development machine did not have this device attached during the audit. No detection or flight pass is claimed. DJI’s own Windows simulator instructions do not certify compatibility with Drone Horizon.
Earlier Android RC-N1C USB experiments captured stick packets, but they do not establish support for the FPV Remote Controller 2 or every DJI RC model.
Try another data cable, direct USB port or supported adapter. Check the radio’s joystick mode and your OS controller panel. In a browser, press a controller button while the page is focused and open the live-input panel. Some browsers or device modes expose no gamepad input.
Record the exact device, platform, connection and changing raw inputs when reporting an issue. Avoid assuming a familiar name means a familiar mapping.