
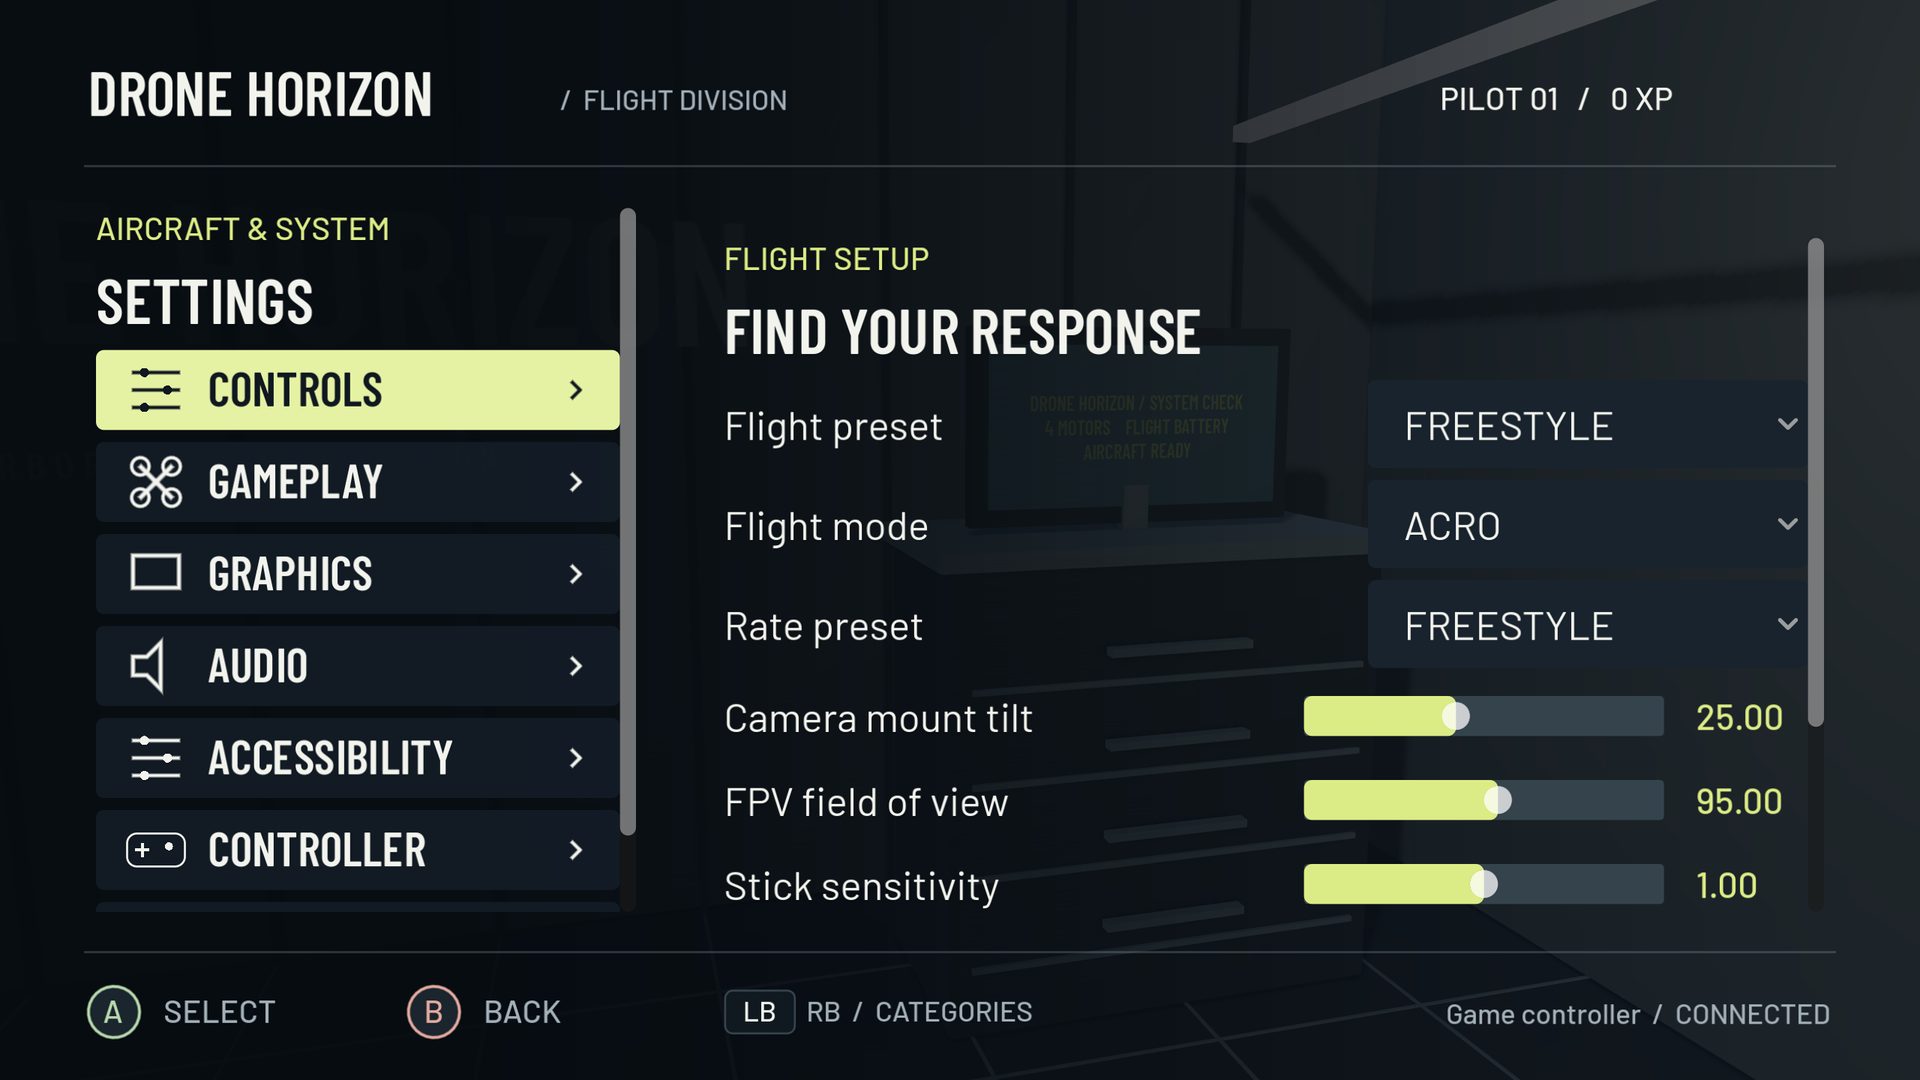
A gamepad can supply the four continuous commands a drone simulator needs: throttle, yaw, pitch and roll. The important part is receiving analog axes and mapping them correctly. A controller that works in a menu is not automatically configured for flight.
Begin with the aircraft disarmed. Use a data-capable USB connection or a Bluetooth mode supported by the controller and operating system. Confirm the device appears in the simulator's input screen before changing aircraft settings.
Map the four axes
For a conventional Mode 2 layout, assign left vertical to throttle, left horizontal to yaw, right vertical to pitch and right horizontal to roll. Move only the requested physical axis while learning a binding. Triggers and D-pads can appear as additional inputs; do not select them accidentally just because their values change.
Sweep each stick slowly. You should see intermediate values instead of only off/on states. If two flight commands move together, inspect duplicate bindings or an existing controller-remapping utility. Keep one understandable mapping path while diagnosing the device.
Calibrate and check direction
Capture neutral positions and full travel according to the simulator's instructions. Then verify that forward pitch tips the nose down, right roll banks right, right yaw turns the nose right and raising throttle increases collective in manual flight.
If a direction is reversed, change inversion at one stage and test again. Reversing both the controller software and the simulator can cancel out the change while making the configuration harder to understand.
| Check | Passing observation |
|---|---|
| Neutral | Centering sticks settle without unintended commands |
| Endpoints | Both directions reach their intended limits |
| Intermediate travel | Output changes continuously |
| Independence | Each flight command can move alone |
| Release | Throttle behavior matches your chosen setup |
Understand spring-centered throttle
Most gamepad sticks return to center. In manual FPV, that position can still request substantial motor output; it is not automatically hover or disarm. Practice reducing throttle deliberately before landing or resetting. A non-centering radio throttle has different muscle memory, so expect an adjustment if you later switch devices.
Start with conservative response near center. Add only enough dead zone to stop drift, then compare small banks and heading changes. Do not use a huge dead zone to make an aggressive mapping tolerable.
Bind actions you can reach reliably
Bind arm/disarm and reset first, followed by camera view and flight mode if you need them. Test each with the aircraft grounded. Avoid putting an essential action on an input that is easy to trigger while steering. A radio switch exposed as an axis may need explicit axis-switch mapping rather than a button binding.
Drone Horizon's configuration system supports named hardware profiles, axis inversion, calibration and configurable actions. Its current compatibility record separates implemented gamepad paths from physical device acceptance; do not interpret a preset name as universal certification.
Save, reconnect and fly a small circuit
Save the profile, reconnect the controller and inspect the values again. Make one gentle takeoff, a broad turn and a controlled landing in the simulator. If the device disconnects, confirm the session's failsafe behavior before continuing.
For a shorter in-game sequence, use Controller Setup. If the controller is visible but unresponsive, use the detection troubleshooting tree before changing the physics model.