
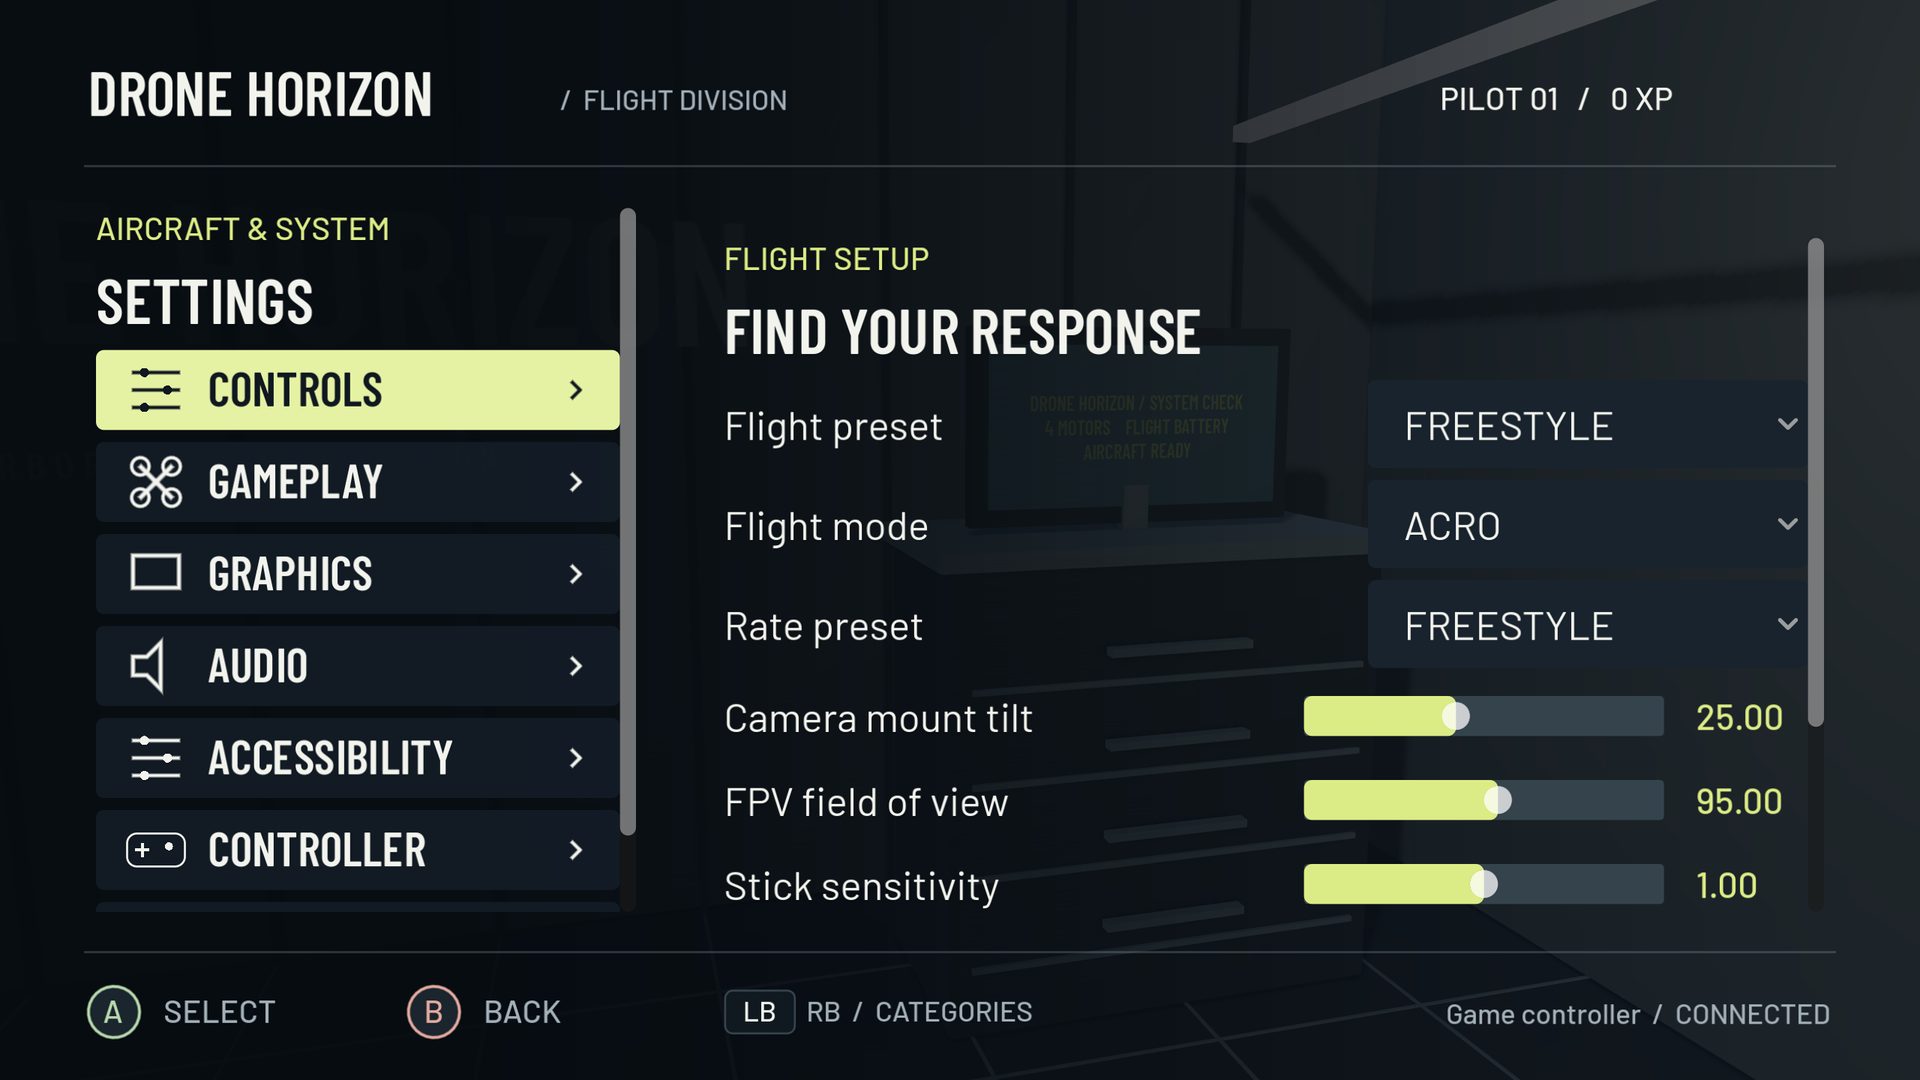
The most useful simulator settings sequence is input, flight behavior, view, then response tuning. Start by making sure the game receives the command you intend. Next choose the kind of aircraft control you want to learn. Only then adjust the view and stick feel.
Changing every slider after an uncomfortable first flight destroys the baseline. You may make the aircraft feel better without knowing whether the cause was calibration, camera perspective, mode selection or rendering performance.
1. Establish a trustworthy input
Detect the controller, check its displayed name and identify all four flight axes. Calibrate travel, verify inversion and use a dead zone that stops neutral drift without swallowing intentional movement. Bind arm/disarm and reset before flying.
Save the result as a hardware profile. This is your device setup, which should remain understandable even when you choose a different aircraft or training exercise. The setup checklist walks through the sequence.
2. Choose the flight behavior deliberately
Drone Horizon's Standard family can use Angle, Horizon or Acro with manual collective. FPV/Acro selects direct manual rate flying. Its separate DJI-style family provides stabilized camera-drone behavior, including braking and height/position management.
Do not use the stabilized family while trying to measure your manual hover skill. Conversely, a filming exercise may be easier to study with stabilized movement first. These are training choices, not levels on a single realism slider.
3. Set the camera before chasing rates
Pick a comfortable FPV tilt and FOV, noting whether FOV is horizontal or vertical. Fly a slow circuit. If the aircraft feels too fast because the scenery rushes across the screen, changing the projection may explain the sensation without requiring a new motor or rate configuration.
In a stabilized view, gimbal pitch and smoothing affect framing. They do not turn the aircraft's pitch axis into a camera-only command. Learn which control you are adjusting.
4. Tune one response parameter at a time
| Setting | Use it to investigate |
|---|---|
| Center sensitivity | Excessive small-stick response |
| Maximum rate | Insufficient or excessive full-stick rotation |
| Expo | Shape between fine corrections and outer travel |
| Throttle curve | Usable collective travel around a practice region |
| Input filtering | Jitter versus response delay |
Drone Horizon offers Legacy Horizon, Actual and Betaflight rate models. Match the model before copying numbers. Save a baseline, repeat one route and retain a change only when its effect is clear.
5. Keep rendering and physics settings distinct
The project exposes physics precision choices of 120, 250 and 500 Hz. These are simulation update frequencies, not promised display frame rates. Higher precision increases computational work; it is not automatically the best option on a phone.
Graphics quality, render scale, shadows and scene detail affect visual workload. Prioritize a stable, responsive session over a setting label. If motion becomes uneven after a change, restore the baseline and test the same scene again. No universal hardware performance claim follows from the presence of a quality setting.
Finish with a saved, named baseline
A useful profile note includes device, stick layout, flight style, aircraft, rate model, camera angle, FOV axis/value and the route used for comparison. That makes future troubleshooting concrete. For deeper diagnosis, the telemetry and blackbox guide explains how to separate the requested command from the aircraft's response.